 |
|
|
| Grade level:
3-5
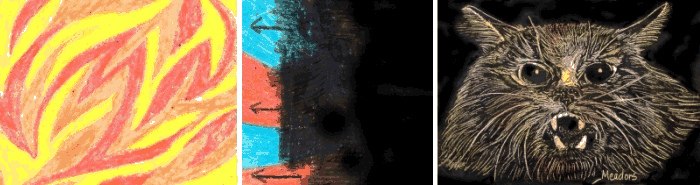
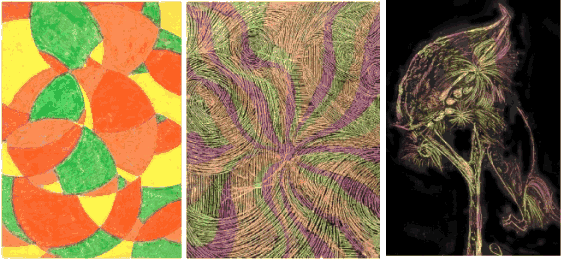
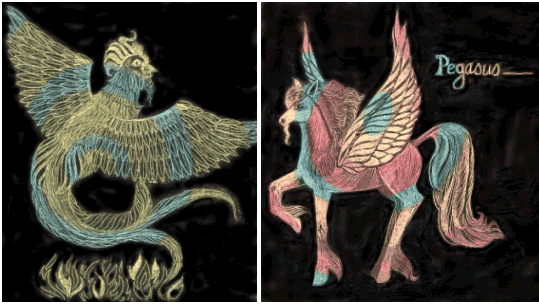
Key Concept-Goal: The key goal is to learn how to do a crayon etching. Vocabulary: crayon, etching, overlay, pattern, texture Essential Skills-Objectives-Art Aims: After being shown how to do a crayon etching, the student shall do one of their own. Engagement Activities- Procedure: The student will draw a crayon design using light and bright colors. They will press hard with the crayon and fill in the whole page. Then they will color over it with a black crayon. Other Methods: Cover with black tempera paint that has a little detergent added to it to make it stick, or black India ink. They will completely cover the colored crayon design. Then they will use a scratch tool to draw a design, animal, or whatever the assignment is. Materials: white paper, crayons, black crayons, newspaper, scratch tool Organization for distribution: Grocery line to pick up paper and newspaper. Crayons will be on the desks. Work period-guidance: They may not start the black overlay until the teacher has checked the original design. Cleanup: Make sure name is visible on the picture. Put picture on the teachers desk. Put crayons back in the containers and scratch tools on the teachers desk. Assessment- Evaluation: Does the picture show up? Is there texture, patterns and designs showing in the etching? Other Teaching Aids: Samples on board Higher Level Questions: Does the student realize how the combination of two techniques was use to create the etching? Subjects I have used: Designs using varied lines and textures, dried plants-milkweed, mythological creatures, animals. |
 |
 |
 |
 |