 |
|
|
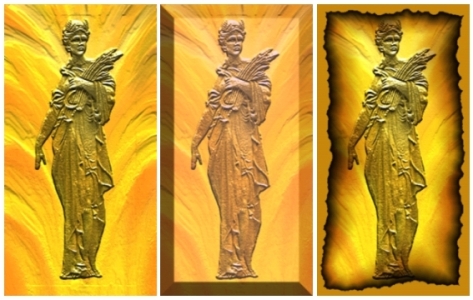
| Vocabulary...Mask, opacity,
surface texture.
Objectives...After being shown how to make a mask and transfer it into another image, the student will create their own. Method...Open picture that has the image you want. Go to Objects box. Hit New to make a new floater. Go to controls and choose opacity you want. Use airbrush with 100% opacity and paint over the part of the image you want to mask and move. When finished go to Objects and click on Load selection. Say OK. Copy. Open the page you want to paste the image into and paste first image into second image. Use the Control bar and choose composite method...check gel, luminous, etc. Change the opacity until you get the effect you want. Sign your name. Save to disk or special folder. Materials...Painter 5. Computer, disk. Time allowed...15 minute time sections done with timer. Rotate students on the computers. Finished projects may take several days. Evaluation...Did the student understand the process? Was the project successful? Other resources...samples on board. Other project possibilities...Use image and try beveled edge or burnt edge. |
 |
 |